
th6320u2008 installation manual
This manual provides a comprehensive guide for installing the Honeywell TH6320U2008 thermostat, ensuring a smooth and efficient setup process for professionals and DIYers alike.
1.1 Importance of Reading the Manual
Reading the manual ensures understanding of the thermostat’s features, proper installation steps, and troubleshooting tips. It helps avoid errors, ensures compatibility with your system, and guarantees safe and efficient operation. By following the guide, you can optimize performance and extend the lifespan of your Honeywell TH6320U2008 thermostat.
1.2 Overview of the Thermostat Model
The Honeywell TH6320U2008 is a programmable thermostat designed for precise temperature control. It features an easy-to-use interface, compatibility with various HVAC systems, and optional cover plate installation. This model is known for its reliability and energy-saving capabilities, making it a popular choice for residential and light commercial settings.

System Requirements and Compatibility
Ensure the Honeywell TH6320U2008 is compatible with your HVAC system and meets voltage, wiring, and software requirements for optimal performance and smooth installation.
2.1 Checking Thermostat Compatibility
Before installation, verify that the Honeywell TH6320U2008 is compatible with your HVAC system. Ensure it supports your system’s voltage, wiring configuration, and communication protocols. Check the manual or manufacturer’s website for specific compatibility details to avoid installation issues and ensure proper functionality;
2.2 Understanding System Requirements
Ensure your HVAC system meets the Honeywell TH6320U2008’s requirements, including voltage needs and wiring compatibility. Verify the thermostat’s compatibility with your system’s communication protocols and stages of heating/cooling. Properly understanding these requirements ensures seamless integration and optimal performance of the thermostat with your existing setup.
Pre-Installation Steps
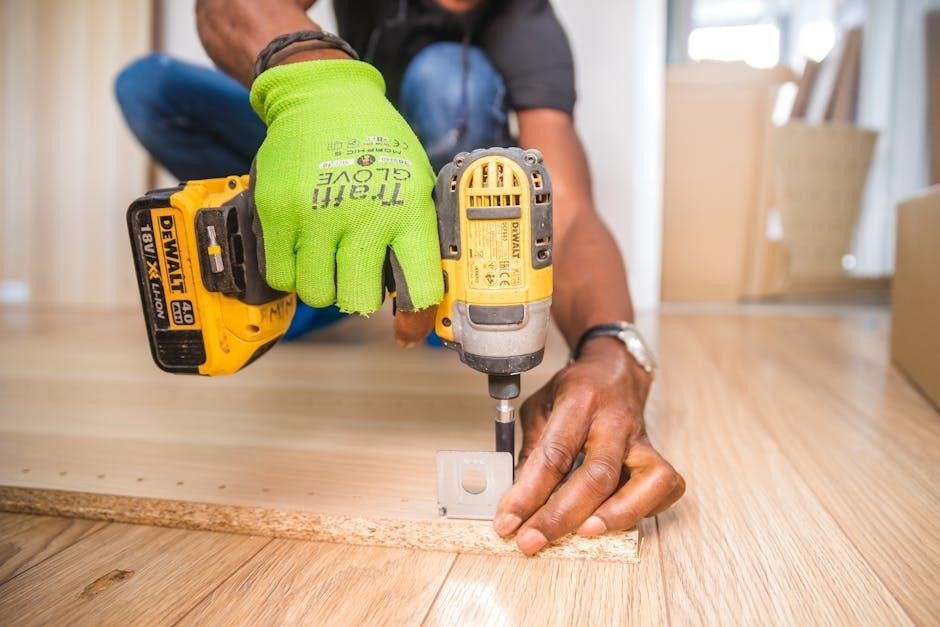
Gather all necessary tools and materials, prepare the wall, and ensure the area is clear. Turn off power to the HVAC system and review the manual.
3.1 Gathering Necessary Tools and Materials
Collect tools like a screwdriver, drill, and level. Ensure materials such as screws, wall anchors, and mounting plate are included. Verify all components are present in the kit.
3.2 Preparing the Wall for Installation
Ensure the wall surface is clean and dry. Check for any obstructions and mark the area where the thermostat will be mounted. Use a level to ensure proper alignment for a secure installation.
Mounting the Thermostat
Mount the thermostat by aligning the mounting plate with the wall anchors and securing it with screws. Ensure the device is level and firmly attached.
4.1 Aligning the Mounting Plate
Align the mounting plate with the wall anchors, ensuring it is level. Use a level tool to confirm proper alignment. Gently push the plate onto the anchors until it fits snugly. Make sure the plate is centered and evenly spaced for a secure installation. Double-check alignment before securing the plate to the wall.
4.2 Securing the Mounting Plate to the Wall
Insert the mounting screws into the pre-drilled holes or wall anchors. Tighten the screws firmly to secure the plate, ensuring it is flush against the wall. Avoid over-tightening, which may damage the plate or wall. Verify the plate is stable and evenly positioned before proceeding to install the thermostat. Proper alignment ensures a secure and reliable installation.
Wiring and Connections
Proper wiring is crucial for the thermostat’s functionality. Match each wire to the correct terminal, consulting the manual for specific connections. Ensure all connections are secure and correctly labeled to avoid malfunctions. If unsure, consult a professional electrician. Double-check wiring before powering up the system to confirm everything works as intended.
5.1 Identifying and Connecting Wires
Begin by aligning the UWP (Universal Wall Plate) and pushing excess wire into the wall opening. Close the UWP door, ensuring it remains flat without bulging. Match each wire to the corresponding terminal on the thermostat, referring to the manual for specific connections. Secure all wires firmly to avoid loose connections. Label wires if necessary for clarity. Always double-check connections before proceeding.
5.2 Testing the Wiring Connections
After connecting the wires, turn on the power supply and test the thermostat’s operation. Verify that each wire is securely connected and functioning correctly; Use a multimeter to check for proper voltage and continuity. Ensure the thermostat responds to temperature adjustments and all features work as intended. Refer to the manual for troubleshooting if any issues arise during testing. Always double-check connections for accuracy.
Optional Cover Plate Installation
The optional cover plate enhances the thermostat’s appearance. It includes a Junction Box Adapter and decorative plate. Follow the steps to install it neatly and easily.
6.1 Separating the Junction Box Adapter
To begin, carefully separate the Junction Box Adapter from the Cover Plate. Ensure they are detached without causing damage. This step allows for proper installation of both components, ensuring a secure and visually appealing setup. Handle with care to maintain the integrity of the adapter and plate for a professional finish.
6.2 Mounting the Junction Box Adapter
After separating the Junction Box Adapter, mount it to the wall or an electrical junction box using the provided screws. Ensure it is level for a secure fit. Handle the adapter carefully to avoid damage. Forcing it into place may damage the adapter or compromise the installation.
Programming the Thermostat
Programming the Honeywell TH6320U2008 is straightforward with its user-friendly interface. Users can easily set schedules and adjust temperature preferences to optimize comfort and energy efficiency.
7.1 Navigating the Programming Interface
The Honeywell TH6320U2008 features an intuitive programming interface designed for ease of use. Users can navigate through menus using touchscreen or button controls, accessing settings like temperature schedules, energy-saving modes, and system preferences. The interface guides users step-by-step, ensuring smooth configuration and optimal performance tailored to their comfort and energy efficiency needs.
7.2 Setting Up Schedules and Preferences
Once the thermostat is mounted, users can create custom schedules and adjust preferences via the programming interface. Set temperature levels for different times of the day, enable energy-saving modes, and customize system responses. These settings ensure optimal comfort and energy efficiency, aligning with your lifestyle and preferences for seamless operation.
Troubleshooting Common Issues
Identify and resolve issues like wiring faults, display malfunctions, or temperature inaccuracies. Check power supply, sensor calibration, and software updates to ensure optimal thermostat performance.
8;1 Resolving Wiring Issues
Identify wiring problems by checking connections and ensuring wires are securely attached. Turn off power, verify correct wire assignments, and consult the manual. If issues persist, reset the thermostat or consult a professional. Always ensure excess wires are neatly secured to avoid obstruction and maintain proper system functionality.
8.2 Addressing Mounting Problems
Check if the mounting plate is level and securely fastened to the wall. Ensure screws are tightened properly and the thermostat aligns with the plate. If the UWP door bulges, adjust wiring. Consult the manual for alignment guidelines or contact support for further assistance to resolve any mounting-related issues effectively.
Final Checks and Testing
Verify thermostat operation by testing heating and cooling modes. Ensure proper functionality and schedule accuracy. Confirm all connections are secure and the device operates smoothly without issues.
9.1 Verifying Thermostat Operation
Turn on the thermostat and check the display for proper functionality. Test heating and cooling modes to ensure correct operation. Verify that the thermostat responds to temperature adjustments and schedule settings. Confirm that all connections are secure and functioning as intended. Ensure the device operates smoothly without any irregular behavior or error messages.
9.2 Ensuring Proper Functionality
After installation, test the thermostat thoroughly to confirm all features work correctly. Check temperature accuracy, scheduling, and remote access if applicable. Ensure the thermostat cycles heating and cooling systems properly. Verify that energy-saving modes and smart features function as expected. Address any issues promptly to guarantee optimal performance and energy efficiency throughout the year.
Maintenance and Upkeep
Regularly clean the thermostat to prevent dust buildup and ensure accuracy. Check for software updates to maintain optimal performance and access new features. Schedule annual maintenance to ensure reliability and energy efficiency.
10.1 Cleaning the Thermostat
Use a soft, dry cloth to gently wipe the thermostat’s surface, removing dust and debris. Avoid harsh chemicals or liquids, as they may damage the device. Clean regularly to ensure accurate temperature readings and optimal performance. This simple maintenance step helps prevent malfunctions and maintains energy efficiency over time.
10.2 Updating Software (if applicable)
Periodically, check Honeywell’s official website for software updates for your TH6320U2008 thermostat. Download the latest version and follow the on-screen instructions to ensure a smooth update process. Always power on the thermostat and use a stable internet connection during updates to prevent interruptions. This keeps your device optimized with the latest features and improvements.
Successful installation ensures optimal performance. For further assistance, visit Honeywell’s official website or contact customer support for detailed guides and troubleshooting tips.
11.1 Summary of Installation Process
The Honeywell TH6320U2008 installation involves preparing tools, mounting the plate, wiring, and programming. Follow each step carefully to ensure proper functionality. Refer to the manual for troubleshooting and maintenance tips to optimize performance and extend the thermostat’s lifespan.
11.2 Where to Find Additional Support
For additional support, visit the official Honeywell website or download the installation manual. You can also contact Honeywell customer support for further assistance or refer to the Honeywell Home support page.